|
|
|
3d artist, mumbai, india 91-09323283056 vinnychirayil@rediffmail.com |
|
|
|
|
|
|
|
|
|
|
|
|
|
The making of Vent
|
This tutorial has been published at graphics.com also.
I am
always amazed by artists who can texture a scene in photoshop & give
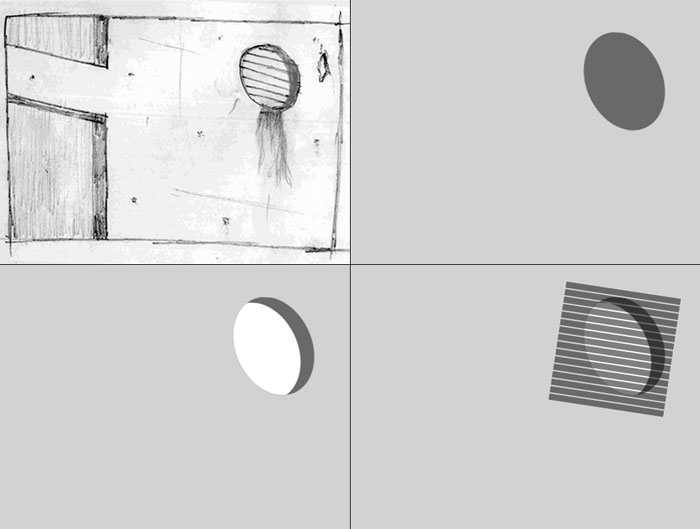
it a 3D look or a photo-realistic look. This is a very simple
example to demonstrate the same concept. This approach saves a lot
of time - instead of experimenting with textures in 3d, do it in
Photoshop. Once you are clear about the final look, do it in 3D.
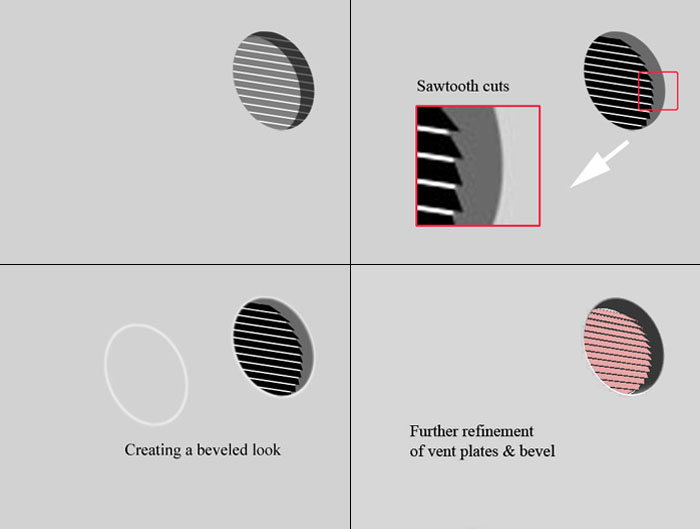
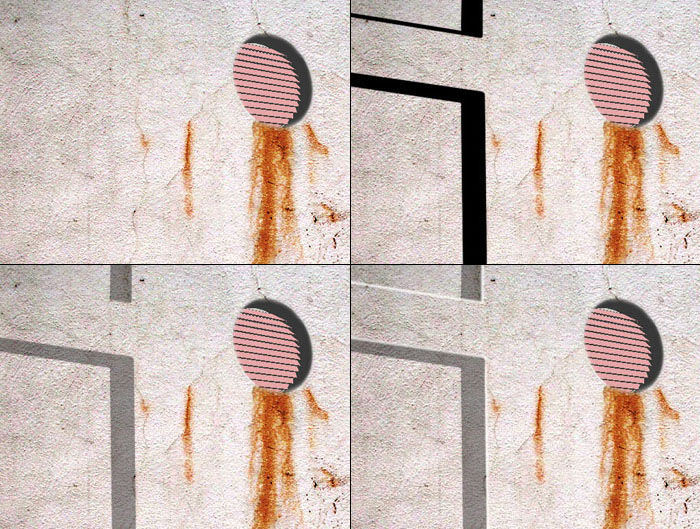
To make the edges of the lines into a saw tooth shape, I deleted the extra portion of each line with the Polygonal Lasso Tool. Next, an off-white elliptical border was painted & blurred slightly, to give a beveled look to the wall edge. With a little refinement, my base template is ready. I could have prepared it in 3d also but this is supposed to be Photoshop tutorial !
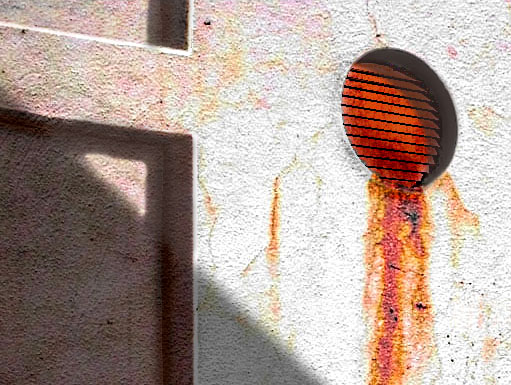
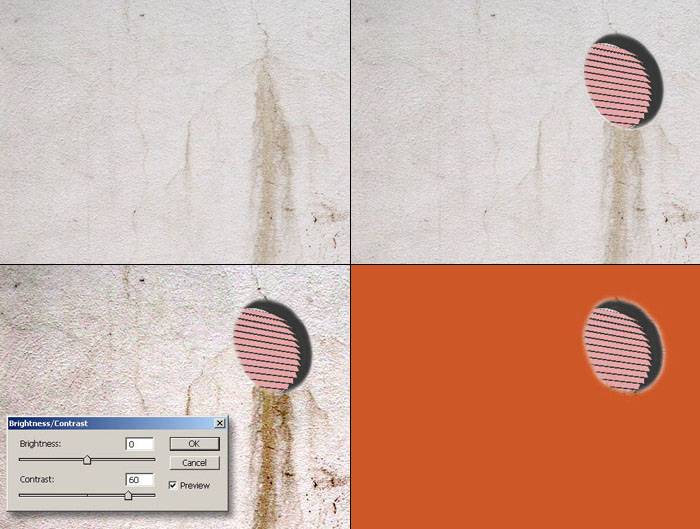
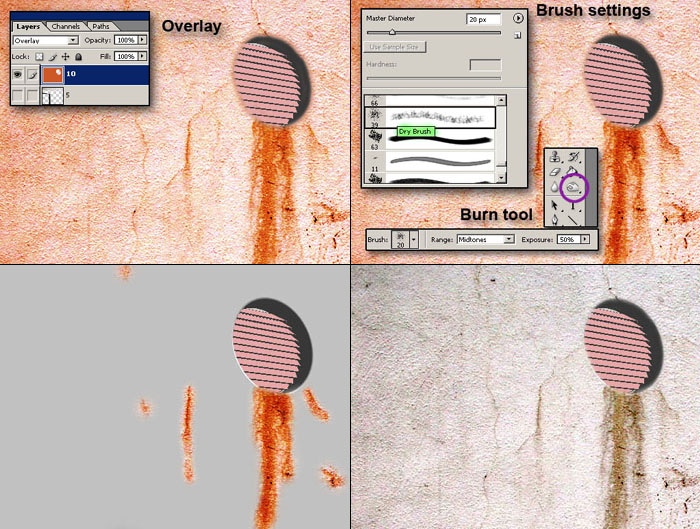
To convert the dirty stain to a rust color, I overlayed it with an orange tint & burnt the stains. Only the stained areas were then masked out & composited onto our earlier image. This gives me a dull de-saturated wall with patches of rust here & there.
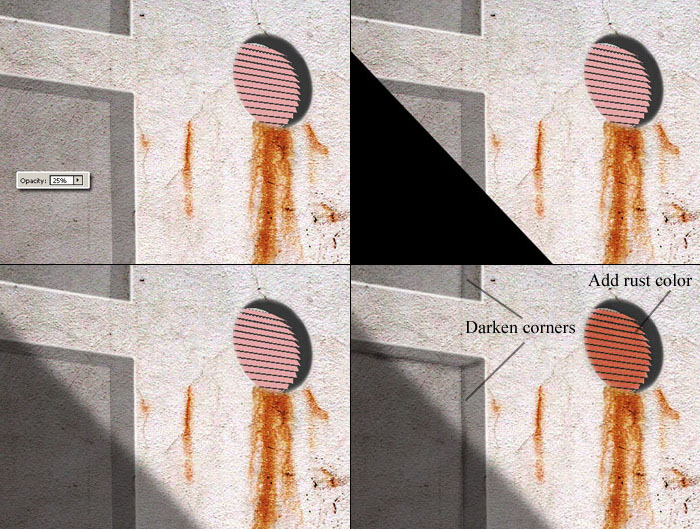
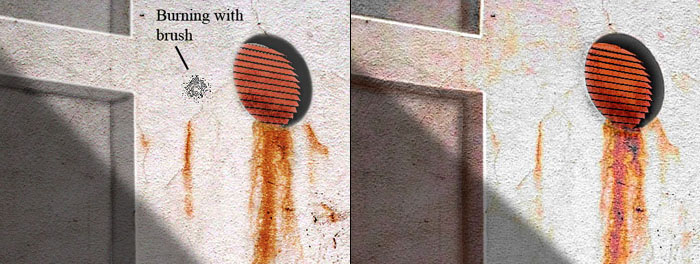
Burn the corner junctions of the wall to simulate soft shadows and dirt. The wall at this stage is very grayish. To fix this, I made a copy of the wall layer & increased its saturation drastically, blurred it slightly & then blended this onto the wall. Add a tint of orange to the plate colors, do some more burning & the scene is almost ready.
A few more refinements & additional shadows on the wall & vent complete the picture. Using Photoshop like this as a pre-visualization tool really fast forwards the creation process.
|
|
Website designed & developed by Vinny Chirayil |
|
Copyright @ 2005 Vinny Chirayil |
| ____________________________________________________________________________________________________ |

